Example in RT1050 EVK
This is the continuation of the previous post. To test all this theory into a practical case, we are going to use and RT1050 evaluation board. As application we will use the hello_world example, as bootloader we will use the SBL (Secure Bootloader) project and to generate a signed firmware we will use SFW (Secure Firmware). All these tools and programs are provided by the manufacturer of the chip, NXP in this case.
Once all the environment is customized for this board, just following the instructions given in the documentation of the different projects, we will be able to start with the previous steeps.
1. Generation of the binary
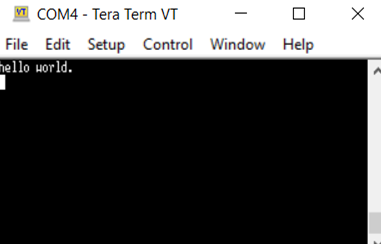
As we said, we will use the hello_world example, a simple project that only print some messages via UART when running, but that will give an easy and nice feedback if the program is running or not.
To generate a correct application file, some considerations need to be taken:
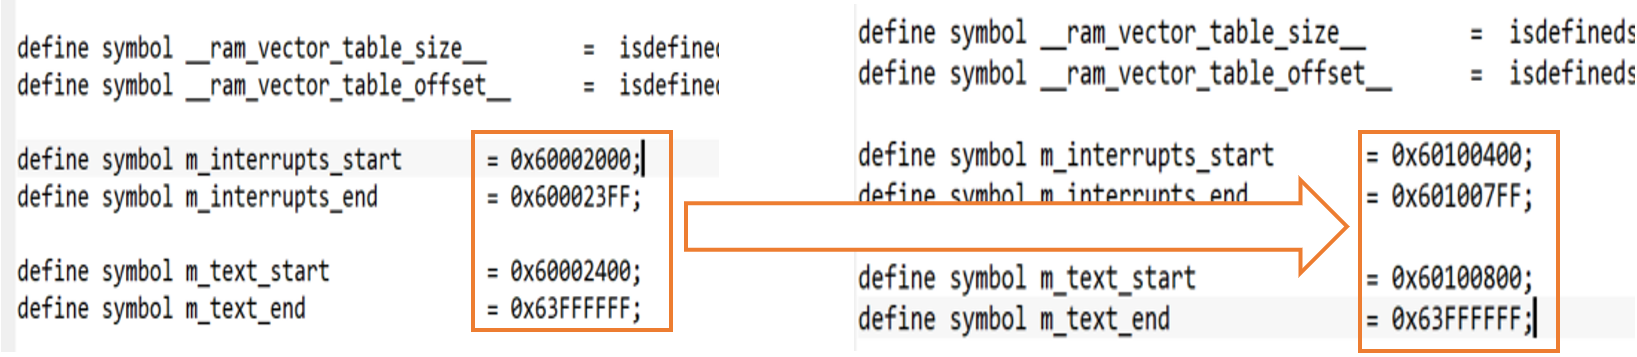
The application and the bootloader will be programmed in the flash memory of the device so it’s important that the code of the application let enough space to store the bootloader. This option needs to be configured in the linker of the program, in this case, the entry point of the software will be moved from 0x60002400 to 0x60100800 and the interrupt vector that is in the 0x400 bytes previous will be moved, too, from 0x60002000 to 0x60100400. So, we are giving the bootloader the space address from 0x60002000 to 0x60100400.
Other consideration is that it’s needed to disable XIP, because it’s a setting that needs to be done only once and just in the beginning, so it will be SBL the one that configure it. To disable it go to the preprocessor and set XIP_EXTERNAL_FLASH and XIP_BOOT_HEADER_ENABLE to 0.
Now it’s time to compile the project and get the binary (.bin) generated.
2. Generate the keys
As mentioned, we will use SFW (Secure firmware) to generate the keys. SFW is a tool that has many possibilities but, in this key, we just want to create the pair of keys. Following the instructions of the manual, we get the following:
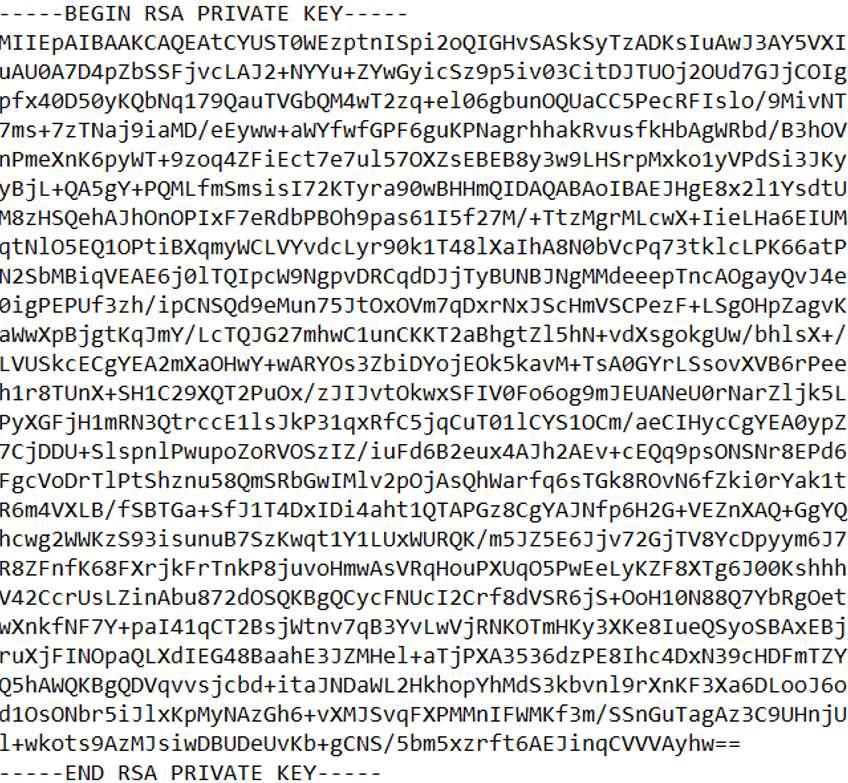
This is a private key generated with the algorithm RSA-2048, and after that we will generate a public key based on this private key:
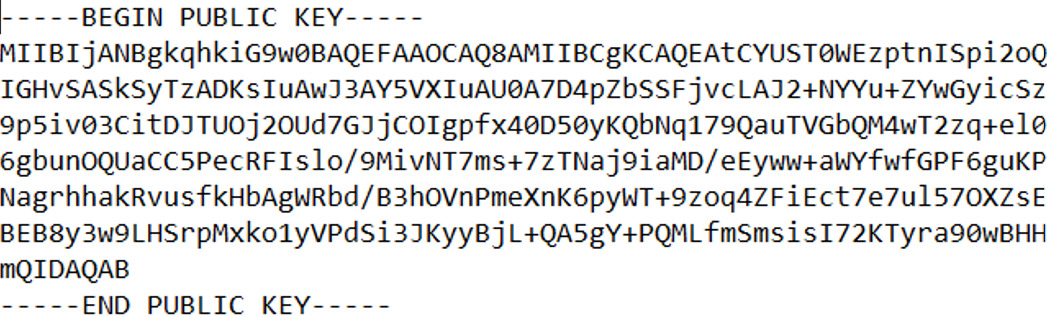
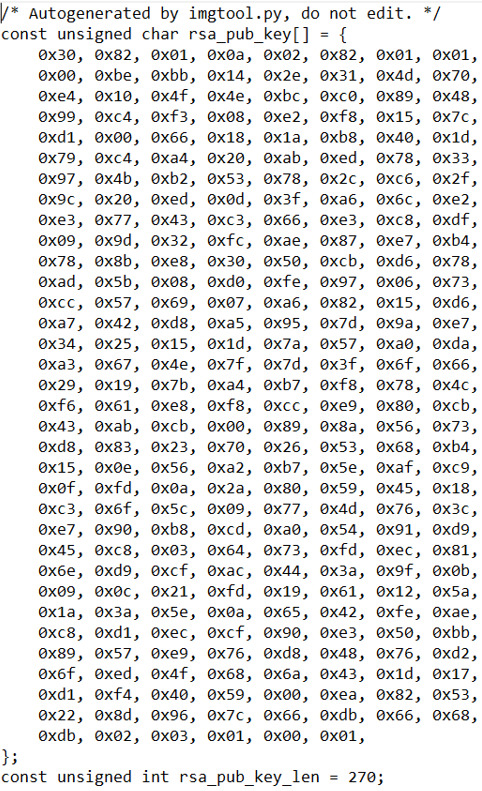
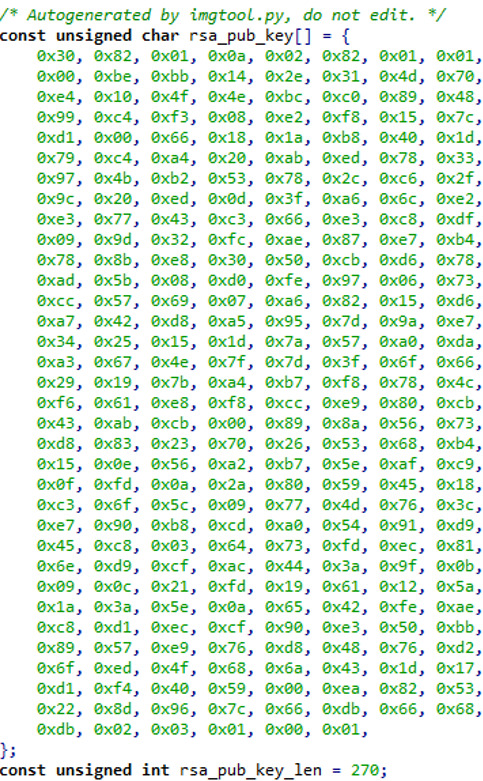
As we said, it will be the bootloader (SBL in our case) the one that will check if the code can run or not, so we need to provide this public key to the program and for doing it we will use this public key but in array format, so we can insert the key in the code of our bootloader.
3. Sign the firmware
The last step with SFW (Secure Firmware) tool is to sign the firmware. We will need the private key and the binary generated and the result will be new .bin file that will consist in the signed firmware.
4. Flash the key
As we said, SBL will be responsible for checking if the firmware can run or not and for that it will need the previous public key in array format. The project is already prepared to insert the key in the source code and once you program it in the device the bootloader will contain the public key, so in our case we just need to search for the key array in the code and replace it for the new one generated in step 2.
5. Flash the signed firmware
The last step is to flash the firmware and bootloader in the device. It’s important to maintain the memory positions defined before in our case:
- SBL will go in [0x60002000-0x60100400]
- Signed FW will go [0x60100400-0x63FFFFFF]
An easy way is to flash the Signed FW first, and after that run the SBL project in debug mode so we can see what the behaviour is.
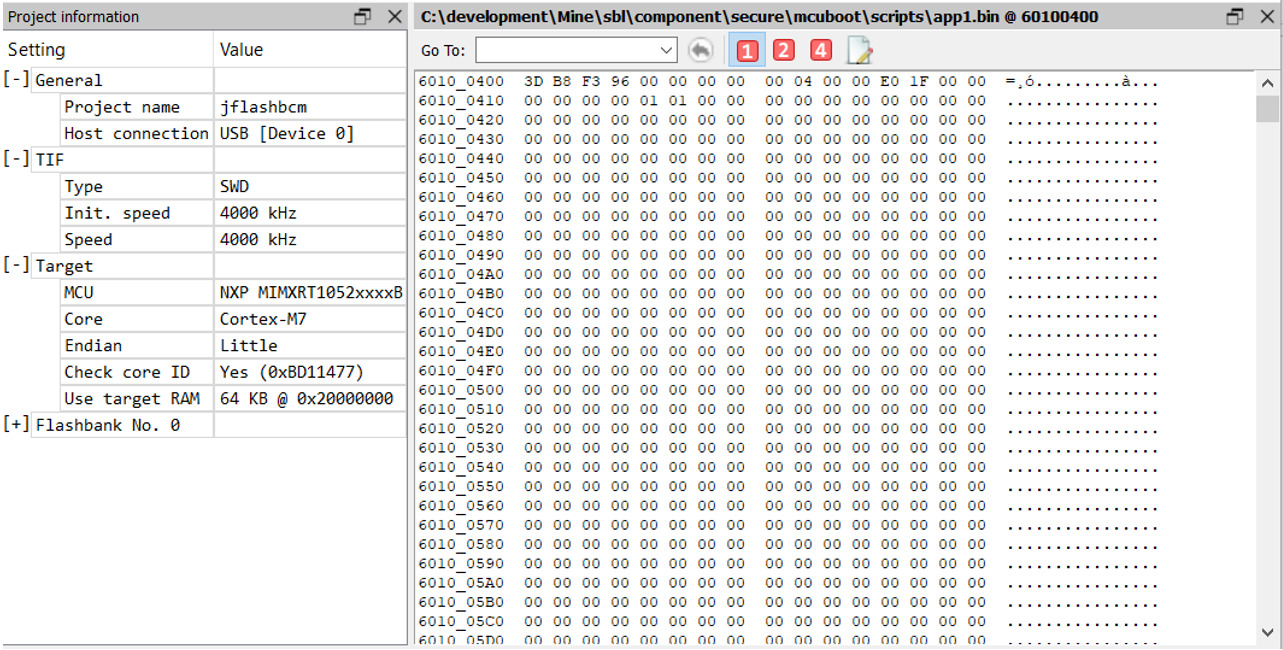
So, first flash the signed binary into the device with any program. We will use Jflash for it.
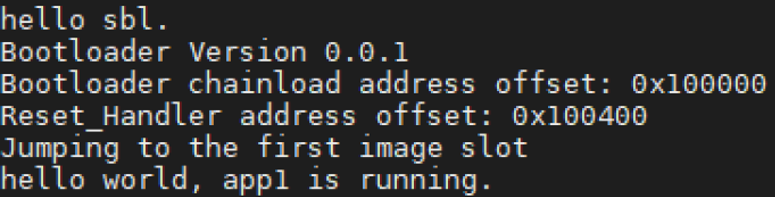
Now debug the SBL project into the device and run it. If everything goes well, the Bootloader will run. Check the sign of the code and if it matches with the one that it’s stored, our program will run and in the serial port, we will see the following:
With all these steps we can have a better understanding of the idea behind a secure boot process, so we can ensure our device will run only our programs and it will not be able to run any unknown program that is not signed by our key.
Of course, this is just one possible step to achieve our main objective: protecting our devices for possible attacks but combining it with other techniques like encryption or secure communication protocols the risk could be minimized.